概观
SuiteCRM能够将用户的会议与他们的Google日历同步。这是双向同步,同步两端的更改会导致另一端更新。
在这个过程中没有中间人。您的数据不会通过任何第三方。它只是您的SuiteCRM实例和Google的服务器。
要求
有效的API凭据
要将用户的SuiteCRM会议与其Google日历同步,系统必须保存有效的凭据。
这些凭据在Google Developer’s Console上创建,作为JSON文件下载,并导入SuiteCRM。有关如何在此页面下进一步执行此操作的说明。
SuiteCRM服务器的Internet访问
SuiteCRM服务器还必须能够访问互联网。但是,SuiteCRM服务器不需要公开访问。用户必须能够同时访问Google和SuiteCRM以授权日历访问权限。完成后,同步过程将按计划运行,无需任何用户交互。用户无需登录SuiteCRM即可实现同步。
至少一个Google帐户
您需要一个Google帐户才能创建API凭据以及要与之同步的帐户。如果您只有一个用户,则它们可以是同一帐户。只需从单个帐户生成一次API凭据。这些凭据可用于在授权访问其帐户后同步所有用户。这些帐户可以是通用的@ gmail.com帐户,也可以是任何级别的GSuite帐户(基本/企业/企业)。
生成和安装Google凭据
生成凭据
在继续操作之前,请确保您已登录Google帐户。
1、 单击屏幕顶部的下拉列表。
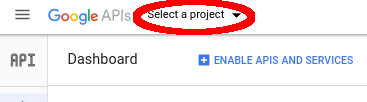
单击屏幕顶部的下拉列表。
2、 单击“新建项目”按钮。
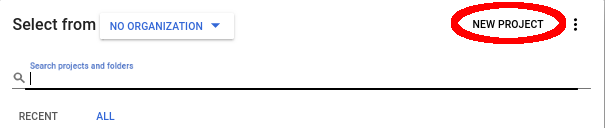
单击“新建项目”按钮。
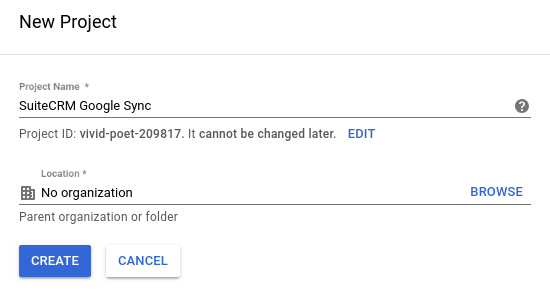
3、 为项目指定一个描述性名称,例如“SuiteCRM Google Sync”,然后点击“创建”。
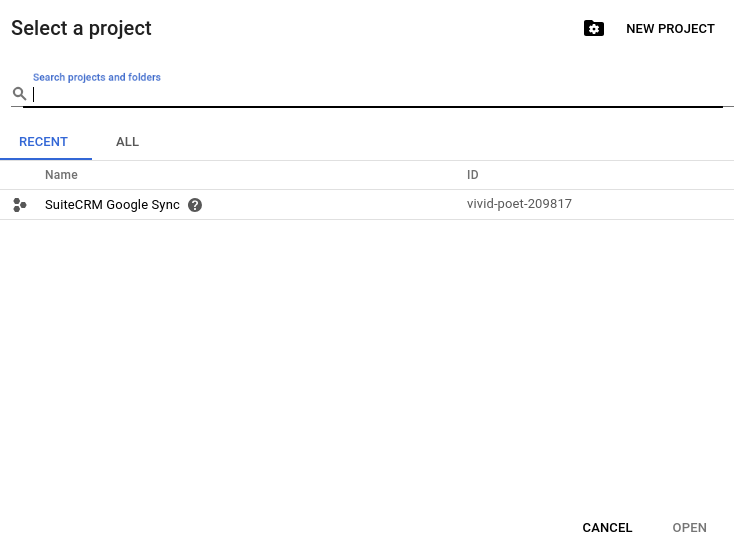
4、 在页面顶部,点击“选择项目”下拉列表…
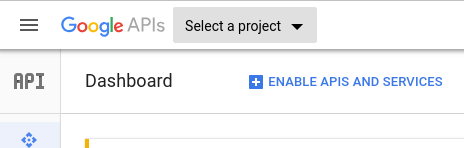
5、 然后单击刚刚创建的项目。
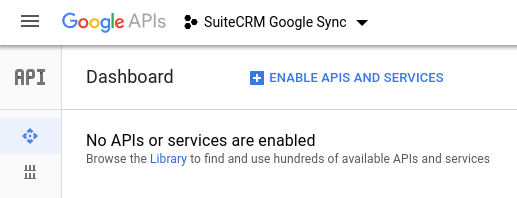
6、 您现在将在下拉列表中看到该项目,并发出没有启用API的通知。点击通知中的“图书馆”链接。
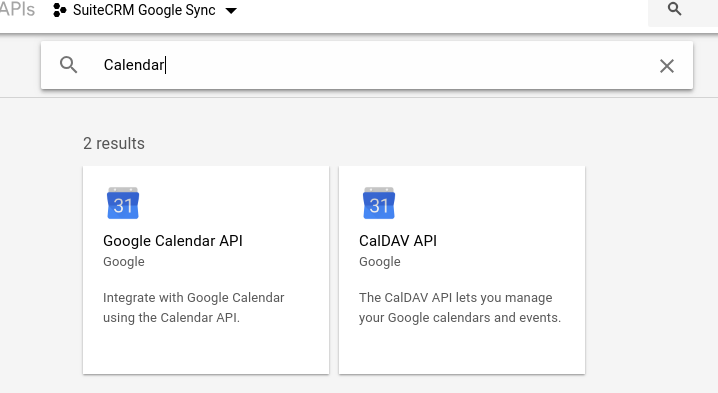
7、 在搜索窗口中,输入“日历”,然后点击“Google日历API”结果。
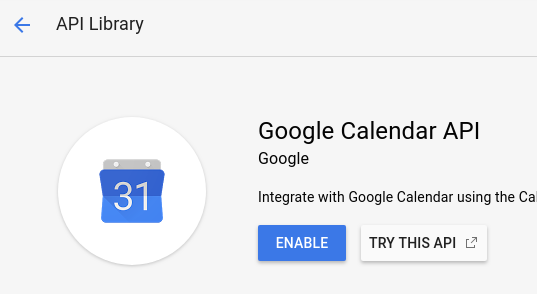
8、 单击“启用”按钮。
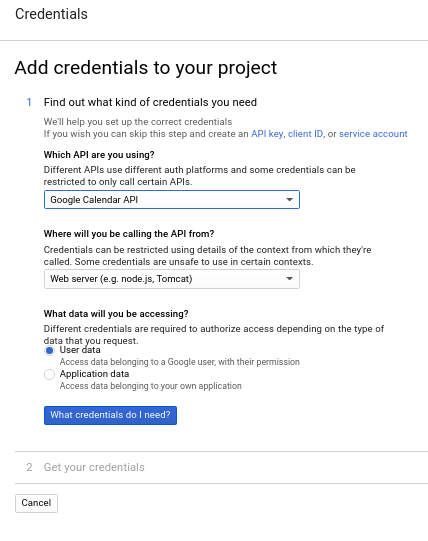
9、 现在我们已经启用了API,我们创建了凭据。单击“创建凭据”按钮。

10、 像这样在第1部分中设置选项。点击“我需要哪些凭据?” 接着说。
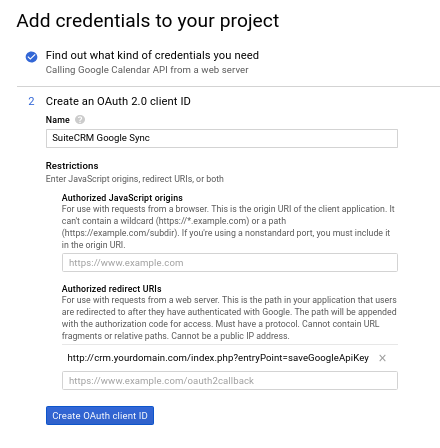
11、对于第2节,请为其指定一个描述性名称。将“JavaScript起源”留空。在“授权重定向URI”下,您需要填写“saveGoogleApiKey”入口点的完整URI。例如,如果您通过URI“http://crm.yourdomain.com/”访问SuiteCRM,那么您可以将“index.php?entryPoint = saveGoogleApiKey”附加到该末尾。完整的URI将是http://crm.yourdomain.com/index.php?entryPoint=saveGoogleApiKey
如果您的SuiteCRM安装位于子目录下,则需要包含该目录。例如http://crm.yourdomain.com/SuiteCRM/index.php?entryPoint=saveGoogleApiKey
请注意,这不需要是公共URL。只需要启用日历同步的用户可以访问它。强烈建议在可公开访问的网站上使用支持https的网站进行制作。
然后单击“创建OAuth客户端ID”。
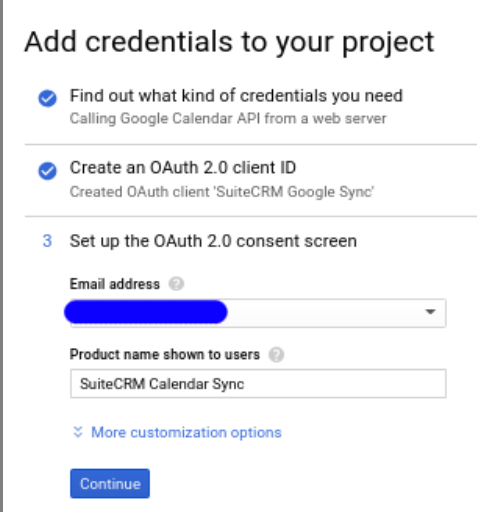
12、 再次,创建一个描述性名称。“更多自定义选项”下有更多选项,但它们无需运行。然后单击“继续”。
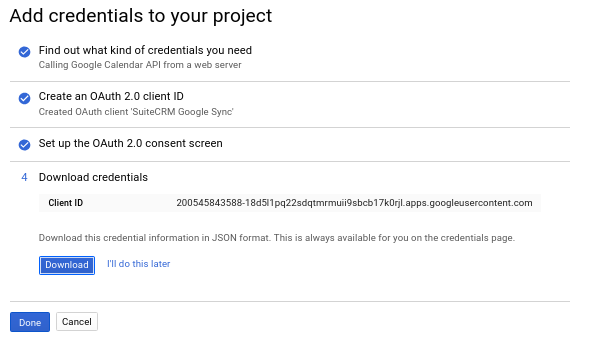
13、 单击“下载”按钮。保存.json文件。我们稍后在SuiteCRM中使用它。完成后点击“完成”。这就是我们所有用户能够同步其日历所需的全部内容。
安装凭据
以管理用户身份登录SuiteCRM。
转到“管理”。
然后向下滚动到“Google套件”部分。
点击“Google日历设置”项。
1、注意它是如何说“未配置”的。这意味着当前没有安装JSON文件。单击此处的“选择文件”按钮,然后选择从Developer’s Console下载的JSON文件。单击屏幕底部的“保存”按钮。

2、这将返回“管理”菜单。返回“Google日历设置”。现在它以绿色显示“已配置”以显示已成功保存JSON文件。

如果您需要安装新凭据,只需上传它们即可。他们将覆盖旧的。
授权日历访问
这需要由用户执行以启用与其Google日历的同步
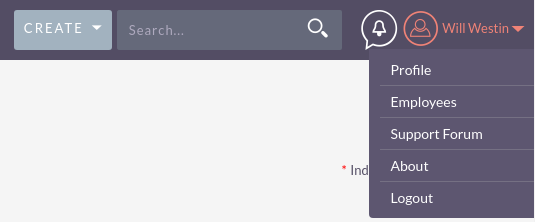
1、 点击SuiteCRM网站右上角的名称下拉列表,然后点击“个人资料”。
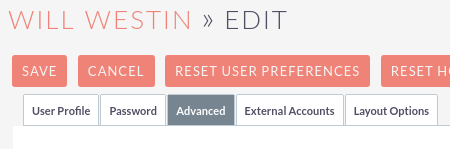
2、 转到“高级”标签。
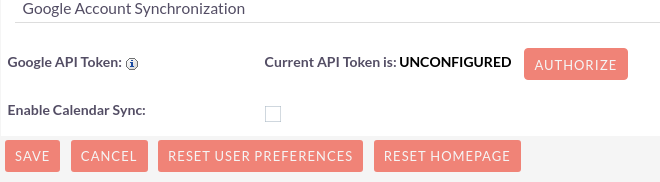
3、 您应该会在底部看到“Google帐户同步”子标题。如果未显示,则SuiteCRM服务器未安装Google凭据。单击“授权”按钮。
4、 如果您登录了多个Google帐户,系统会询问您要与哪个Google帐户同步。否则,您将直接进入此对话框:
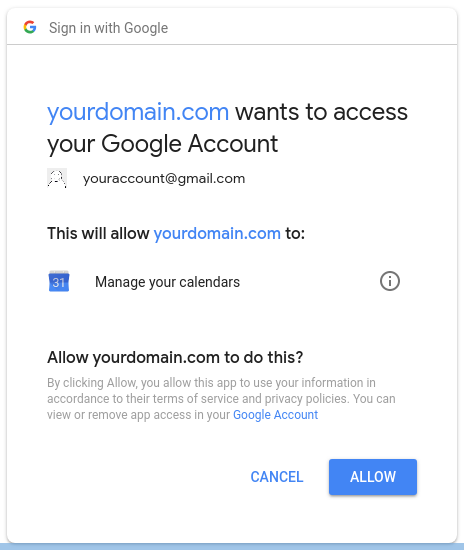
5、 点击“允许”后,您将被带回用户个人资料页面。再次单击“高级”选项卡,您应该看到:

选中“启用日历同步”复选框,然后点击“保存”按钮。
而已!默认情况下,同步每小时发生一次。管理员可以在Scheduler配置中更改这一点。